Jan 31, 2012

Cutesy Felt Pouch

The inside of my purse is atrocious. Seriously... if you can put it in a purse, then I have lost it in a purse. It's full of receipts and random scribbled notes I throw in there, plus a million other mystery objects. Mary Poppins ain't got nothin' on me....
But, I digress.....


This is a little felt pouch I have made to help organize my bag a little more. It could also make a cute little wallet or clutch if you have a little girl that likes to dress up!


What you'll need: 8x10" felt in multiple colors, embroidery floss, a needle, some scissors/pinking shears. The button is optional-Velcro could also work.

cost: $5

Difficulty level: easy, and it could be made easier and turned into a kid friendly craft with some fabric glue instead of a needle and thread

1. Cut a rectangle with pinking shears. About 3" high x 4" wide. Stitch to the very center of your felt rectangle with a running stitch.


2. Fold the bottom portion up one third. Stitch the outside edges with a running stitch.


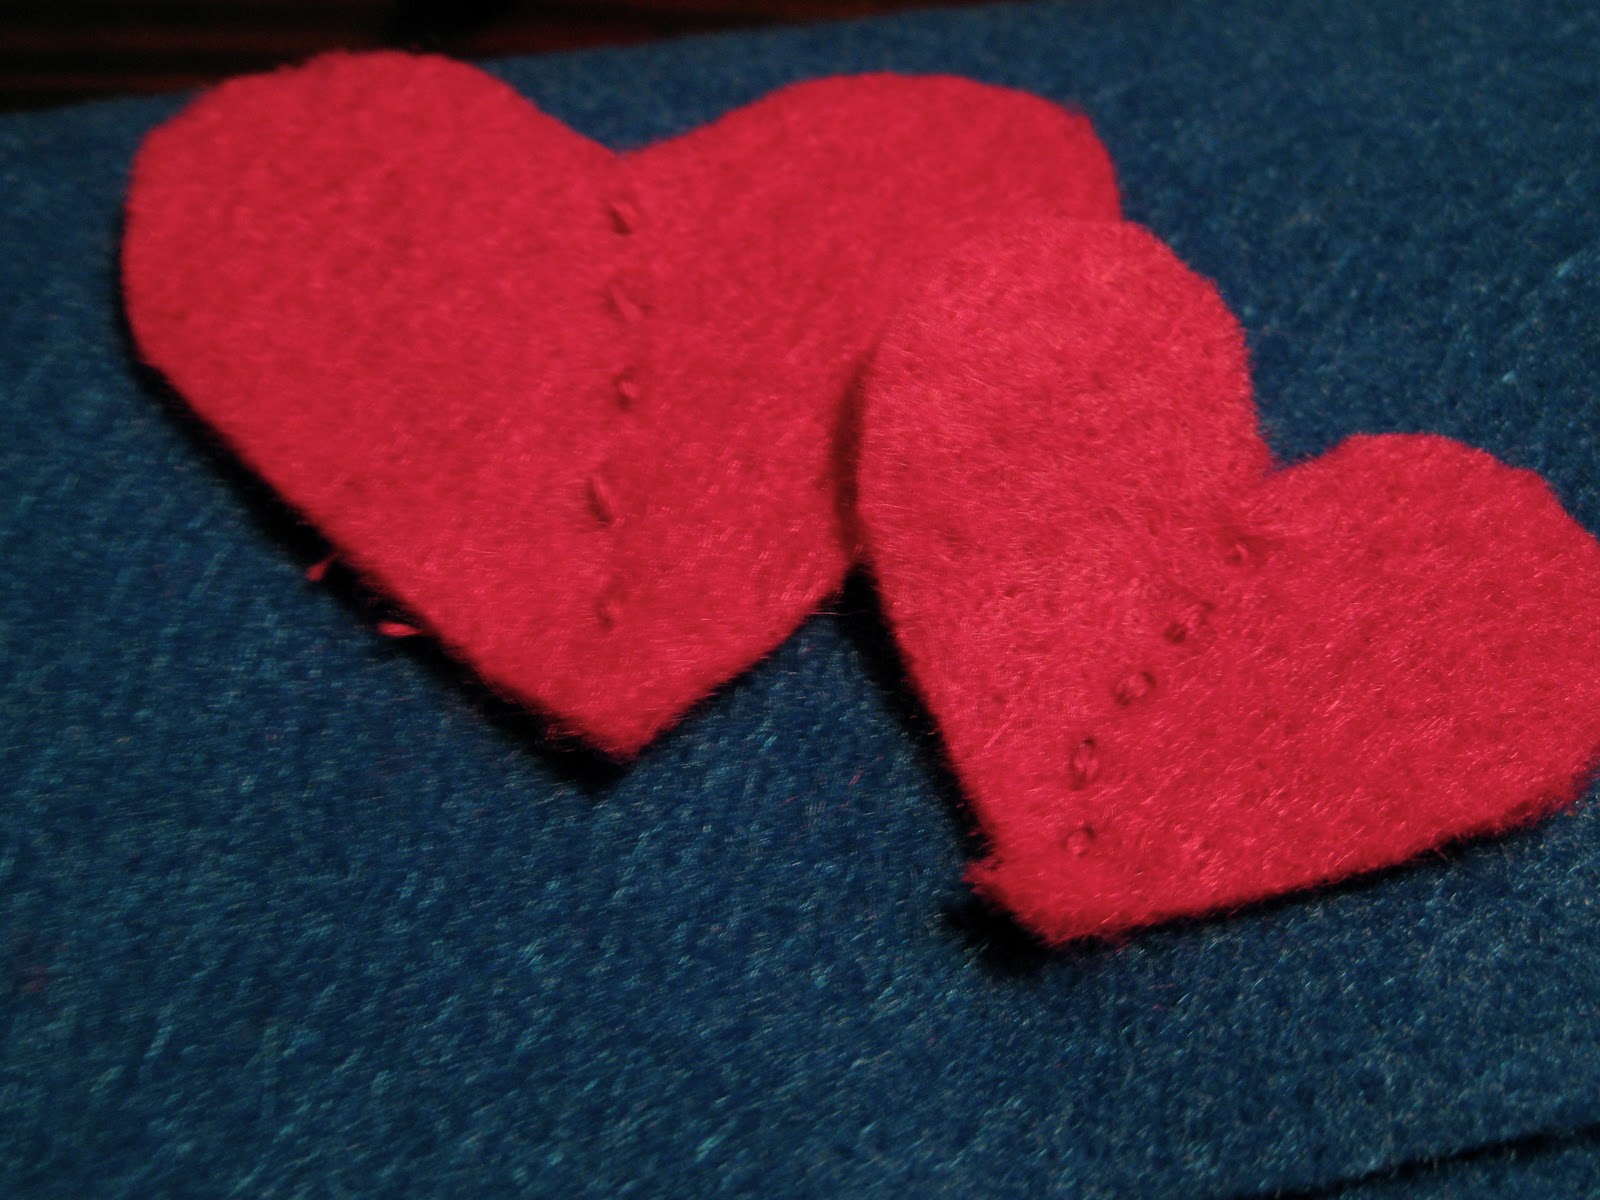
3. Cut out shapes to decorate with. I used hearts in honor of February.


4.  (Optional) Sew a button to the pouch and cut a slit into the flap right about the button to create your button hole.


5. Enjoy! You can use this to hold your sunglasses, keep pens together, or even to hold your make-up. The options are endless :)


Jan 24, 2012

Rainy Day Pick-Me-Up


I've been seeing all the fun spring trends floating around the Internet and I'm getting really excited about warm weather and bright colors. But, it's chilly and raining horribly outside tonight. I decided to add a little bit of sunshine to this gloomy evening with a yellow burst of tarty greatness by making this delicious lemon curd from kitchen confidante.

I'm definitely a novice in the kitchen, but I followed these directions with no problems at all.

What You'll Need:
3 egg yolks
1 whole egg
3/4 cup sugar
1/2 cup lemon juice
zest of 2 lemons
4 tablespoons unsalted butter, cut into small cubes


Get cookin'! One thing I've learned (and a lot of you may already know this) is that preparing everything you need first makes it way easier. For example, zest 2 of your lemons before you cut them and squeeze the juice out or you'll be left trying to zest squishy, sticky, and hollow lemon peels. SO....Lay out everything you need, zest, and THEN juice your lemons....before you even crack an egg.....

"In a small saucepan, whisk together egg yolk and egg until combines. While whisking, pour in sugar, lemon juice and zest, and continue whisking until creamy and well incorporated, about one minute. Place over medium heat, whisking constantly, until the custard thickens and can coat the back of a wooden spoon, about 8-10 minutes. Remove the pan from the heat, and stir in the butter, one cube at a time. Strain into a bowl or jar, cover surface with plastic wrap and chill in the refrigerator for at least one hour."


Voila!! This is so so good! I'm going to have to go to Starbucks to get a scone tomorrow morning. What? You want me to make scones for myself now? Baby steps, people. Baby steps. 


Thanks to Liren from Kitchen Confidante for posting this and to David Lebovitz‘s Improved Lemon Curd and Martha Stewart’s Lemon Curd, The Martha Stewart Living Cookbook (MSL Omnimedia, 2000).

Jan 22, 2012

Look! I finally made a "terrarium"


I bought the succulent plant at Ikea for $2!
Then I got the glass, rocks and purple moss at Michaels for about $10.

I have no idea if I planted it correctly, and I'll probably end up killing it, but I love it and it's going to look awesome on my desk tomorrow!