Showing posts with label Glitter. Show all posts

Jan 19, 2012

Glitter Keys!


As you know, we LOVE glitter. I couldn't resist doing this to my house key the other night. It was so easy and now my key is ADORABLE (just what every boring house key dreams of being)!

Difficulty: EASY
Cost: Free if you have glitter..and who doesn't?

You'll Need:
A key (or many keys)
Mod Podge or regular glue
Glitter
Clear spray paint-- Don't skip this step!

Step 1:
Put your key on a glitter-safe surface. I use foil. Paint one side of your key with you glue.

Step 2:
Pour on the glitter! Let this side dry completely before doing the other.

Step 3:
Repeat steps one and two on the other side of your key.

GO OUTSIDE and spray both sides of you key with the clear coat. This is important! If you don't do this, glitter will fall off everywhere. Trust me, it's a mess.

Once that's dry, you're finished!


If you have lots of keys, do each one in a different color of glitter so you can ID them. Super fun!

Dec 20, 2011

Glitter Wine Bottles


These are a couple wine bottles I attacked with glitter to add to my magical Christmas decor. 


what you'll need: a couple wine bottles, some glitter, glue, and a sponge brush.
cost: not counting the wine-these are relatively cheap/free if you've done basically any of the other crafts on this blog... we really like glitter...
difficulty level: easy


All you have to do (after you've cleaned off the bottles and removed the labels) is brush some glue from the bottom of the bottle and up towards the middle.


Roll in glitter.


Let it dry a little and brush off the excess glitter.


repeat!


I put long taper candles in the wine bottles first, but I don't know how I feel about them. 


So, I also tried it out as a vase with some of the extra berry things I have from my tree.


I'd really to get some more of these for next year and maybe even use glitter that matches the color of the bottles... we shall see ;)


Oct 17, 2011

Yes, Another Glitter Craft


But this one's a little more subtle...


what you'll need: wooden letters, black paint, and a black glitter. I used Martha Stewart's Black Glitter paint but I think regular glitter would work if you wanted full coverage.
cost: less than $10
difficulty level: easy


step one: paint your letters with your base color. If you are using loose glitter you should sprinkle it immediately. If not, let paint dry completely or you'll just cover your glitter with more wet paint.


step two: paint with glitter paint. At first I was disappointed with the Martha Stewart glitter because I expected more coverage. They had samples of it at the store and it was like an awesome glitter explosion. The actual result is more like glitter puff paint. It took about 4-5 coats to get the look I wanted and you have to let it dry in between coats.

**you don't have to paint the backs of the letters if they are leaning against something, but if they are a little away from the wall like mine-just paint it. It takes 2 seconds.


OoOoH-Spooky!

Oct 15, 2011

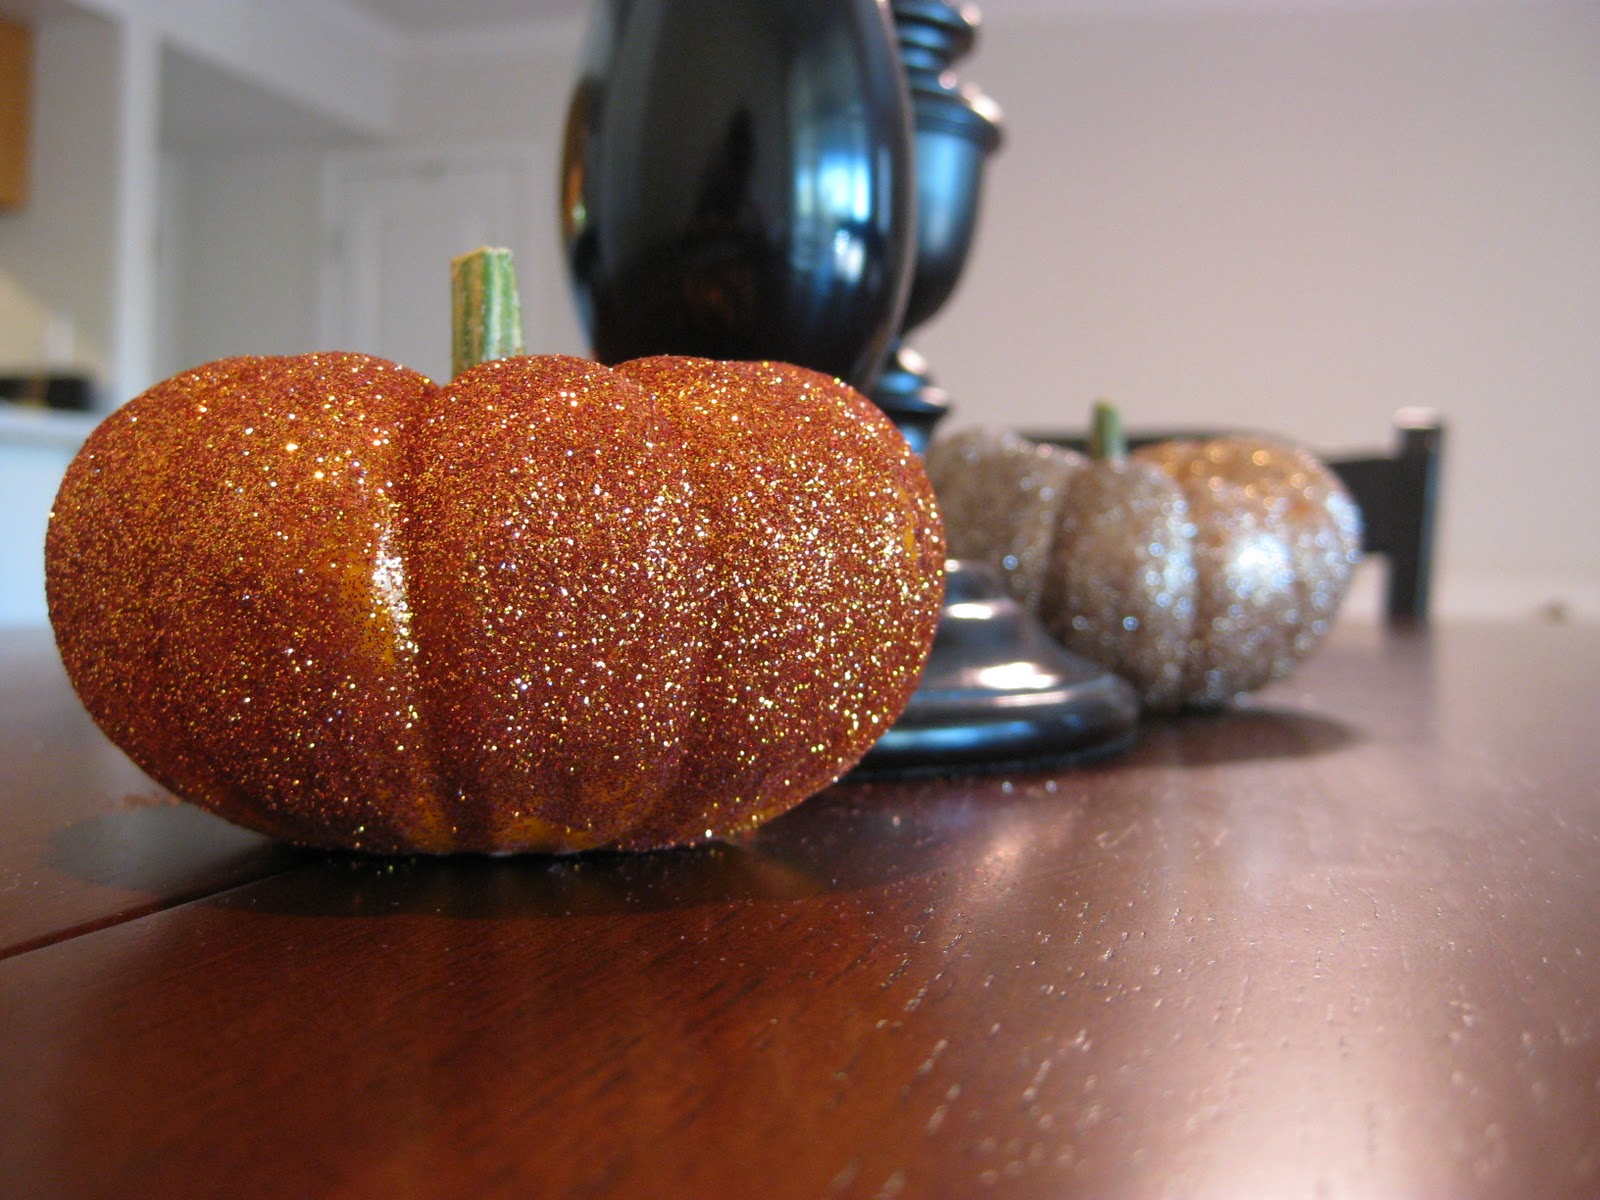
Katie VS The Great Glitter Pumpkin

There are 2 things about the holidays that I love. 1) Eating delicious food with friends and family. And 2) Glitter. (Also Holiday movies... and fall/winter clothes. Fine. There's a lot to love). Face it... the best holiday decor is always covered in glitter. Point in case: Glitter Pumpkins!


what you'll need: pumpkins, glitter, and white glue
cost: cheap. The glitter was the most expensive part. 
difficulty level: This craft is so easy there wasn't even a point in taking how-to pictures. 


Just put your pumpkin on a paper plate, cover it in glue, and cover it in glitter. You don't have to cover the bottom completely because it's resting on a table and no one will see it. Let it dry and shake off the excess glitter!

 In the event that your glue covered pumpkin rolls off the table and onto your floor-taking a surprising amount of glitter with it-DON'T PANIC!!! A lint roller will pick up most of the glitter and next time you vacuum will get the rest.... 


Now, what else can I cover in glitter? Muah hahahahaha!

Sep 11, 2011

Glitter Letters: Take One

Ok, I want to preface this post with my inspiration for this craft. I think it's important for you to understand my motives...

I saw these awesome glitter letters on the Anthropologie wedding site BHLDN. BUT, I didn't want to spend $34 on them when I thought "I can totally do that!"


What follows is the process of glitter lettering. This is not quite a craft fail, but it's also not a huge success. This is part one. Part two (Hopefully the better part) will follow soon with a few corrections. Feel free to try it the way I first did, but stay posted for a more clean looking result. This one has glitter that's a little thick in some areas and thin in others.

Disclaimer: By the time you finish this glitter craft you will be covered in glitter. Your house will be covered in glitter. Your pets will be covered in glitter.

difficulty level: not hard
cost: about $10

what you'll need:
Glitter Glue, Glitter, X-acto Knife, Foam Core Board, Lacquer Spray.

step one:
Trace your desired letter onto the foam core board. You can print one out from word or you can do it the way I did (probably the hard way) and draw one yourself using a see-through ruler!

step two:
Cut out your letter using the X-acto knife. Cut it out on a cardboard surface or something you don't care about or you'll scratch your table all up.


step three:
This is a good time to cut out holes to thread your ribbon through if you plan on hanging it.

step four:
The Messy Part!!! I tried to keep it neat by lining a baking tray with news paper and then putting the letter inside... contain the glitter. Then spread glitter glue all over the letter as evenly as possible.

step five:
Sprinkle glitter all over the letter. Layer it up so that it's well coated. Let it dry and then shake off the excess glitter. There will be areas that didn't get covered, so patch those up with more glue and glitter.
Repeat for the back side (again making sure the front is super dry). Next, you glue and glitter the sides of the foam core. 


step six:
To keep all that glitter from falling off everywhere I sprayed it with the left over clear lacquer spray I had left from the coasters.

Then pat yourself on the back and start vacuuming up all that glitter!