Showing posts with label halloween. Show all posts

Oct 25, 2011

Kayleigh's Halloween Costume

Here's a little sneak peek of my Hedwig (owl) costume that I will be debuting on Friday!


I finally got the boyfriend into Harry Potter last year. Then he goes and gets onto the red carpet premiere of The Deathly Hallows--without me!! Anyway, this year he is going to be Harry. Honestly, he's perfect for it. 
BUT, I didn't want to be Hermione or Ginny; I was already what some refer to as "Whore-y Potter" a couple years ago. 
So.... I decided to be Hedwig, Harry's pet owl. (Also, I got the idea from Katie who went as Hedwig to our Harry Potter Housewarming Party. Yes, we're nerds)


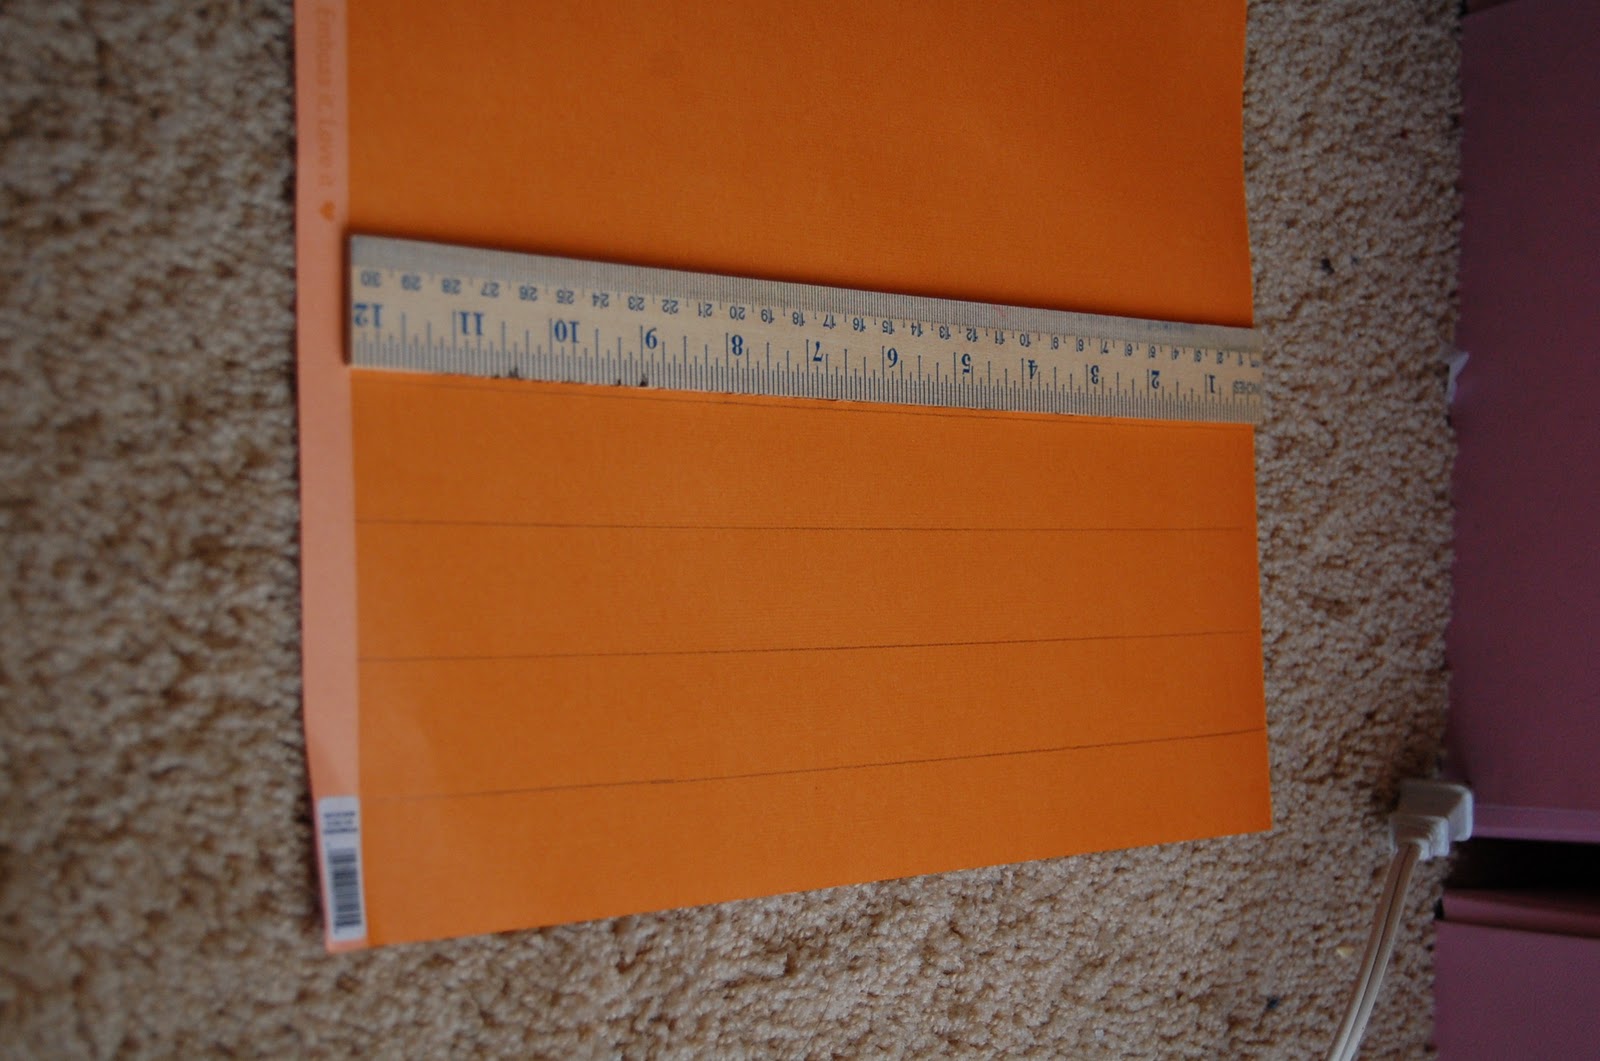
There's my sketch, supplies, and the feather trim that I made myself. I'm afraid you'll have to wait till I wear it for Halloween to see the finished product. 

Don't want to ruin the surprise, BUT I'm thinking we will look a bit like this:


Heehee...

If you've made your own costume this year, I want to see it! Tweet us a picture @girlvscraft or leave one in the comments! 

Happy Crafting!

Oct 23, 2011

World's Easiest Pumpkin Decoration

Seriously, the easiest EVER!

Buy either a real pumpkin, or the fake carvable ones (that's what I have). Then spell out words with sticker letters!


Oct 19, 2011

No-Sew Felt Leaf Garland!


This fall colored felt leaf garland is a simplified version of some awesome Christmas felt garland that I saw last year at Etsy Dallas' Jingle Bash craft fair. Since I don't own a sewing machine, I had to do it a little different. I think it turned out adorable and is probably easier than sewing it!

Cost: $5
Difficulty: easy (time consuming though)

You will need:
Various colors of felt. I used the cheap stuff from Michael's (20 cents per sheet = 9 leaves)
Neutral colored yarn (again, I got the cheap kind)
Paper and pencil to make your leaf stencil
Scissors
Tape for the end of the yarn so it's easier to thread.


Step One:
Make your leaf stencil and cut it out. 3 inch leaves are a good size.

Step Two:
Trace the stencil on each piece of felt. I fit 9 on each piece. Then, cut those out too.

Step Three:
Cut 3 holes in each leaf by folding the leaf in half and sinipping a small hole. ** DO THEM ALL BEFORE YOU START THREADING**

Step Four:
Put a small piece of tape around the end of your yarn. This makes it much much easier to thread into the felt! Then, start threading the yarn through the leaves.


Step Five:
Keep on threading those leaves on! When you run out of leaves, tie small loops on the ends so you can hang the garland, and so that it doesn't unravel on you.


Now, hang above a window, drape a mantel, wrap it around banisters, or decorate the table!


Happy Fall! Now, go drink a pumpkin spiced late. You earned it!

Oct 18, 2011

Chalk-Paint Wine Glass


Tired of drinking someone else's wine? Solve that problem with a little chalk paint on the base of the glass. Then your guests can write their names or draw pictures to mark their wine.    Here's how it's done!
  
Cost: You can do a full set of 8 glasses for less than $30 (assuming you're getting the glasses at Target...) This was free for me since I already had a glass and the paint.

You will need:
A wine glass (or many wine glasses)
Primer
Chalkboard paint
A place to dry the glasses. I recommend wax paper. 


Step one:
Take your wine glass outside and spray the base and a bit of the stem with your primer. Let it dry outside.


Step two:
Open up your can of chalkboard paint and literally dip the bottom of the glass into the paint.   ** Note: doing it this way is easy, but takes a long long time to dry. If I did it again, I would use a paint brush instead. **


Step three:
Pull it out slowly and let some of the excess paint drip back into the can.

Step four:
Let it dry... this is where I did NOT plan ahead. I sat at the table holding the glass in the air until it was just dry enough to set down on a magazine. I recommend getting some wax paper ready!

When it finally dries, you can start writing with chalk!! Now, I have no idea if the glasses are still dishwasher safe. I will be handwashing this one. Good luck, and Happy Hallo-wine!

Oct 17, 2011

Yes, Another Glitter Craft


But this one's a little more subtle...


what you'll need: wooden letters, black paint, and a black glitter. I used Martha Stewart's Black Glitter paint but I think regular glitter would work if you wanted full coverage.
cost: less than $10
difficulty level: easy


step one: paint your letters with your base color. If you are using loose glitter you should sprinkle it immediately. If not, let paint dry completely or you'll just cover your glitter with more wet paint.


step two: paint with glitter paint. At first I was disappointed with the Martha Stewart glitter because I expected more coverage. They had samples of it at the store and it was like an awesome glitter explosion. The actual result is more like glitter puff paint. It took about 4-5 coats to get the look I wanted and you have to let it dry in between coats.

**you don't have to paint the backs of the letters if they are leaning against something, but if they are a little away from the wall like mine-just paint it. It takes 2 seconds.


OoOoH-Spooky!

Oct 15, 2011

Katie VS The Great Glitter Pumpkin

There are 2 things about the holidays that I love. 1) Eating delicious food with friends and family. And 2) Glitter. (Also Holiday movies... and fall/winter clothes. Fine. There's a lot to love). Face it... the best holiday decor is always covered in glitter. Point in case: Glitter Pumpkins!


what you'll need: pumpkins, glitter, and white glue
cost: cheap. The glitter was the most expensive part. 
difficulty level: This craft is so easy there wasn't even a point in taking how-to pictures. 


Just put your pumpkin on a paper plate, cover it in glue, and cover it in glitter. You don't have to cover the bottom completely because it's resting on a table and no one will see it. Let it dry and shake off the excess glitter!

 In the event that your glue covered pumpkin rolls off the table and onto your floor-taking a surprising amount of glitter with it-DON'T PANIC!!! A lint roller will pick up most of the glitter and next time you vacuum will get the rest.... 


Now, what else can I cover in glitter? Muah hahahahaha!

Oct 11, 2011

Halloween Paper Chain

Remember making construction-paper paper chains when you were little? Just me?? Well, here's the grown-up version that can be used for any holiday or party or just for fun.

Here's all you need:
pretty scrapbooking paper (mine was 60 cents per sheet)
scissors
ruler
hot glue gun (trust me, you do NOT want to use tape)

First:
Turn your paper so the back is facing up. Use your ruler to trace 1 inch sections so that each chain is the same width.


Second:
Cut on the lines. Then cut those strips in half. You should have strips that are 6 inches long when you're done.


Third:
Make a full circle with one strip and glue it together.

Then slide another strip through it, and glue in a circle around the first one...

Then keep on doing this until you run out of paper, or get tired of gluing ( I stopped because of the second reason).


Last-- Hang it up! Mine will be moved to hang by the windows.
>>>>Another option...make your kids do it!

Oct 5, 2011

Kid Craft! Paper Pumpkins


My girls got bored the other day so we made these ridiculously easy paper pumpkins. You can use fancier paper and make them for adults, but even the 5 year old did this with little supervision! (also I took the photos on my phone, so ignore the grainy-ness)

Cost: FREE (or $2 if you don't have any paper)
Difficulty: it's for children...

You Need:
paper, scissors, and a glue stick


First, cut your paper into 3 strips, and lay them out in a star shape like so, and glue them down:

 Then... Take opposite sides, pull them up and glue them together, like this:


   Then...do it with the other pieces until you have a ball shape


Next, make your stem with a tiny strip of green paper. I curled mine around a pencil first. The girls did straight ones. 
  And here's the proof that kids can do this::

This is so easy, how could you NOT do it? The pumpkins make nice place setting cards too!