Showing posts with label quick craft. Show all posts

Jan 31, 2012

Cutesy Felt Pouch

The inside of my purse is atrocious. Seriously... if you can put it in a purse, then I have lost it in a purse. It's full of receipts and random scribbled notes I throw in there, plus a million other mystery objects. Mary Poppins ain't got nothin' on me....
But, I digress.....


This is a little felt pouch I have made to help organize my bag a little more. It could also make a cute little wallet or clutch if you have a little girl that likes to dress up!


What you'll need: 8x10" felt in multiple colors, embroidery floss, a needle, some scissors/pinking shears. The button is optional-Velcro could also work.

cost: $5

Difficulty level: easy, and it could be made easier and turned into a kid friendly craft with some fabric glue instead of a needle and thread

1. Cut a rectangle with pinking shears. About 3" high x 4" wide. Stitch to the very center of your felt rectangle with a running stitch.


2. Fold the bottom portion up one third. Stitch the outside edges with a running stitch.


3. Cut out shapes to decorate with. I used hearts in honor of February.
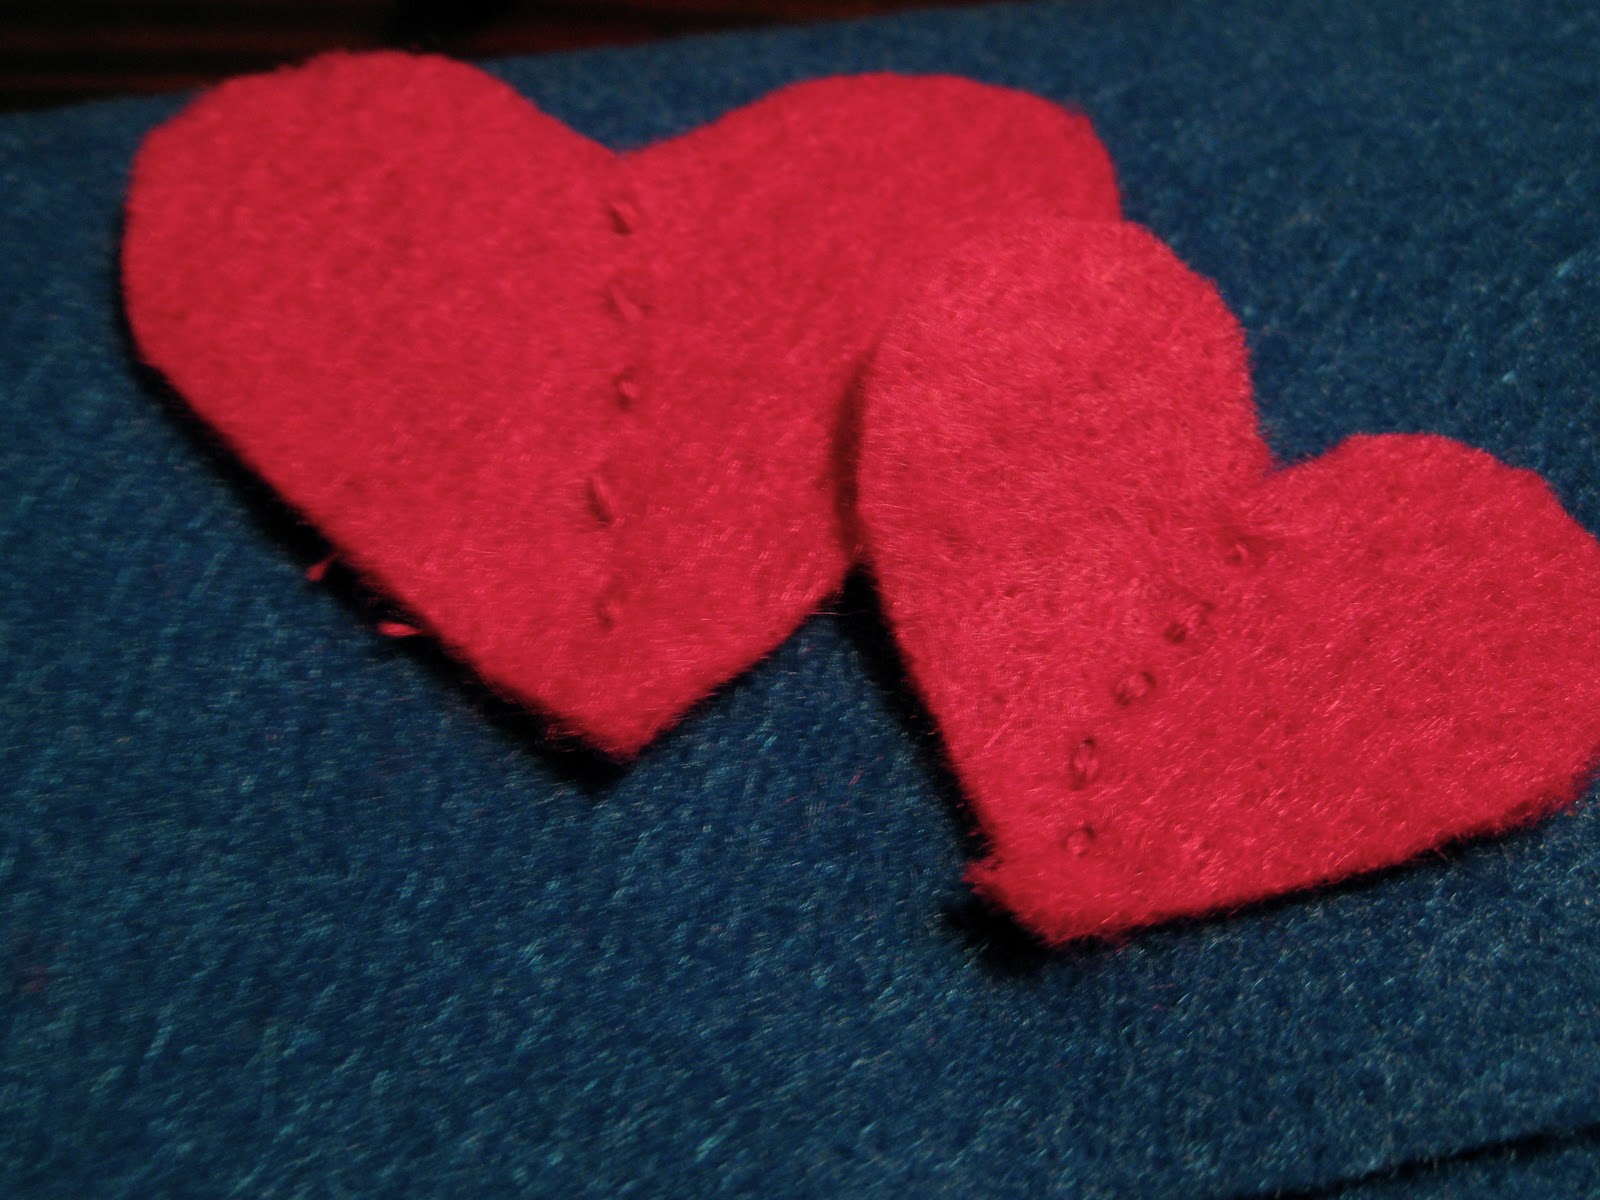

4.  (Optional) Sew a button to the pouch and cut a slit into the flap right about the button to create your button hole.


5. Enjoy! You can use this to hold your sunglasses, keep pens together, or even to hold your make-up. The options are endless :)


Jan 9, 2012

Quick fix craft

I have an old random tray that didn't really add much to the decor of our apartment. Actually, it was sitting in my closet for awhile gathering dust.
So... I decided to give it a little face lift.


I took some scrapbook paper that I had left over, a stencil, and some paint, and gave my dirty old tray a little purpose.

I matched the patterns on my 2 pieces of scrapbook paper. Then traced my tray and cut out my rectangle of paper.

Then I used a stencil and some paint to add a little dimension.


Glue the paper to the tray. I used decoupage glue and coated the top as well.

If you plan on putting drinks on this tray you'll need to use a lacquer on top to seal it.


And there you have your 15 minute quick fix!


Oct 9, 2011

60 second craft: Post-It Note Bunting!


Cut different colored post-it notes into triangle shapes. Line 'em up! Instantly "crafts up" your office.

Sep 15, 2011

Quick Craft:: Cool Make-up Organization

 I seriously needed some make-up organization help, so I made these 2 super easy solutions


<< The make up magnet board


        The coffee brush and tool holder    >>>>


I already had a magnetized bird in my bathroom, so this craft was super cheap! Here's what you do:
Get some magnets ($2 at Michael's)
Grab your glue gun
Gather up your make up

Now, hot glue the magnets to the back of your make-up. Some may need 2 magnets if they are heavy or large:

Put them on your magnet board! (small dry erase boards are usually magnetized, and you can write messages too!)

Now for the brush holder...

*Get yourself a small container. I found mine for 67 cents in the clearance at Container Store.
*Buy 1/2 pound of coffee beans. Mine are pumpkin spice from Central Market because I like the smell!
*Pour the coffee beans into the container, and arrange the brushes. Told you it was easy!