
difficulty level: pretty easy, but this one requires sewing
cost: $10 cause I got my fabric on sale (what what!)
things you need: a pillow, 1 yard of woven fabric (I always over estimate just in case), and 1/2 yard of felt.
Get the nice felt that comes on a bolt, not in a bag. The bag stuff is like fiberglass or something awful like that.
step one:
Measure your pillow so you'll know what size your cover will need to be.
Mine was 18" x 18". Add 1/2" to each side for seam allowance, so the front of the pillow cover will need to be 19" x 19". The back of the pillow cover will be in 2 pieces so you can slip the pillow in. One piece was 19" x 13", and the other was 19" x 8" so they overlap.
You can also do this like a normal pillow, but I like the idea of being able to change the pillow out if I get bored.

And since you're probably judging me for my wrinkly fabric pieces I will tell you that I tore these instead of cutting them because it makes a straighter line. Just make a little slit a tear away like the hulk. Don't worry, I press the pieces next and it returns the edges to a lovely non-wrinkled state.
step two:
Using 2 different size circles as a pattern, cut out your felt. I used 2 glasses and some spare paper. Cut about 25-30 large circles and about 20 small circles. Cut all the circles in half.
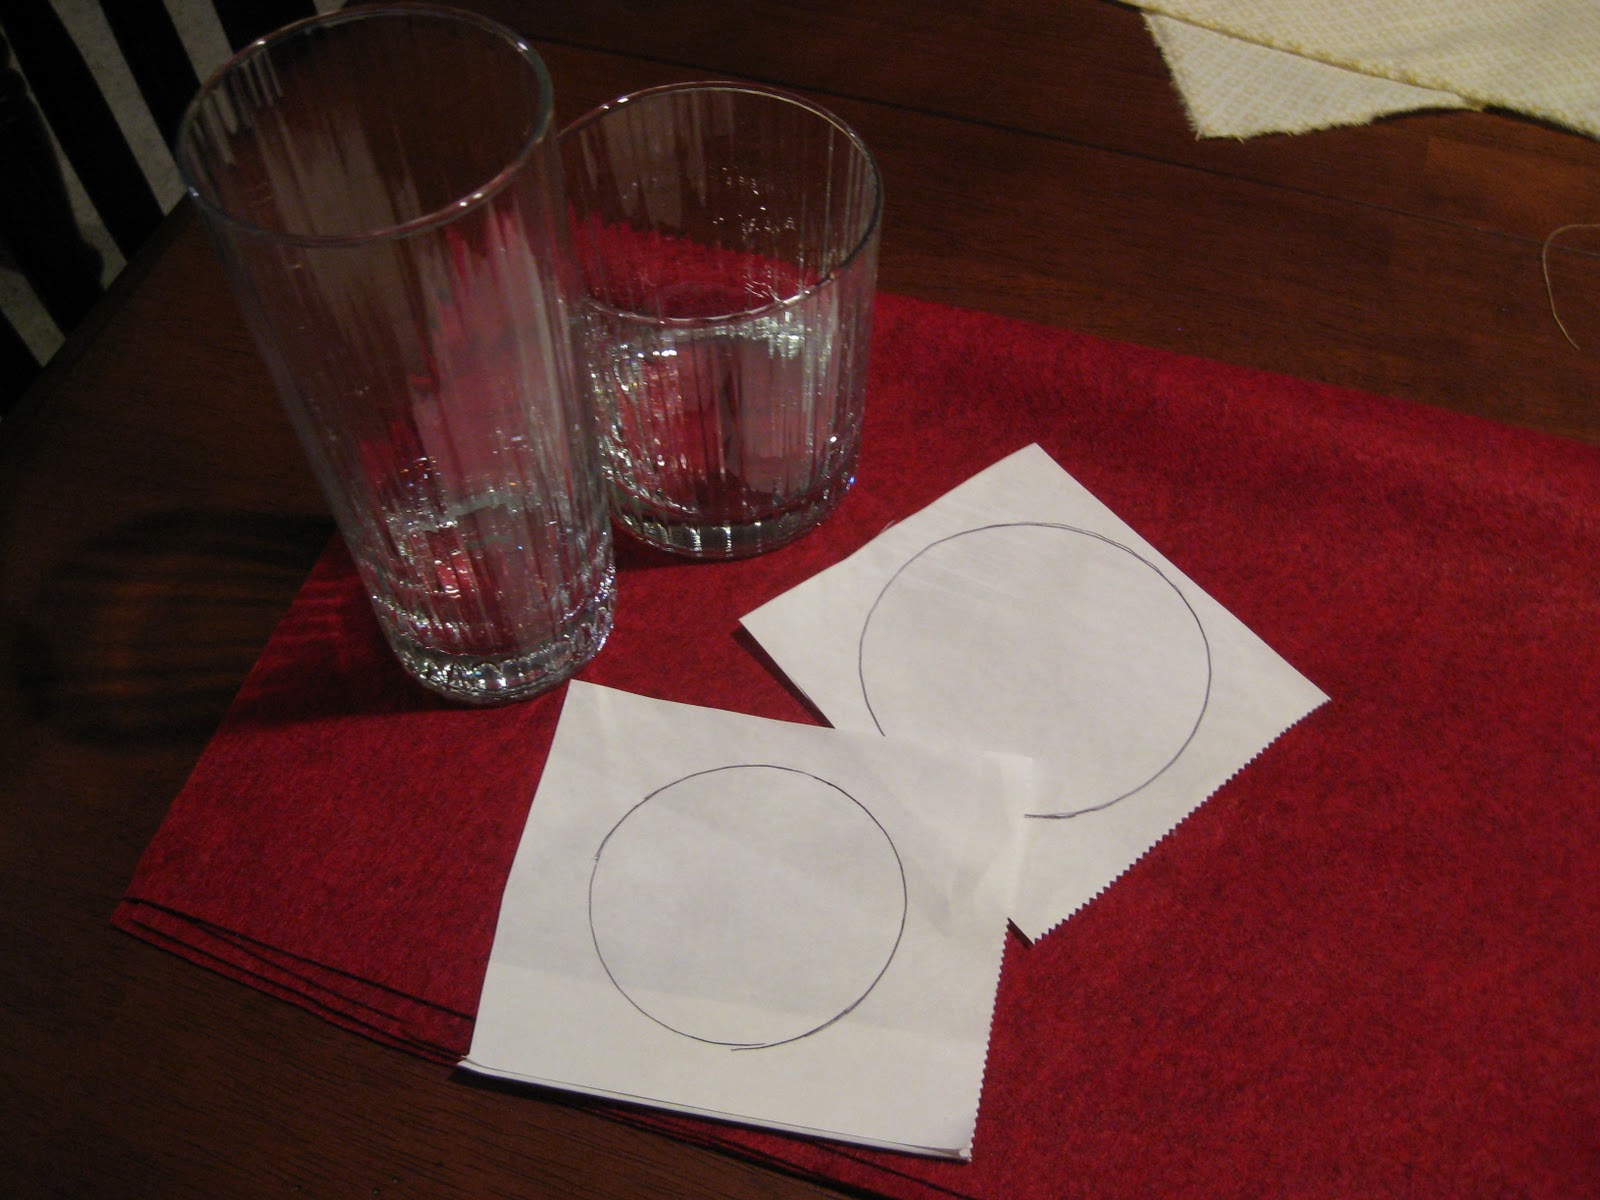
Use a large bowl to trace a circle on to the front piece of your cover. Make sure the circle is about 3" from all edges.

step four:
Get out your sewing machine! Now you'll sew down each felt petal. Start with the large half circles, and line them up with the outline of the circle you've traced. When you finish one row, just keep going by spiraling the petals toward the center.
**I've seen this craft done with fabric glue, but seriously... it's going to get crusty and they will fall off eventually. If you have a sewing machine, just use it.

After about 3 rows of the large petals you can start making small pleats or gathers in the center of the felt to give some texture. It will happen on it's own as you get closer to the center of the spiral. After about 4 rows, switch to the small petals and keep sewing!
step five:
Now, you've gotten all the way to the center of the spiral. Cut 2 small quarter sized circles. Overlap them and stitch them to the center to cover the stitch lines of the last row of petals.

step six:
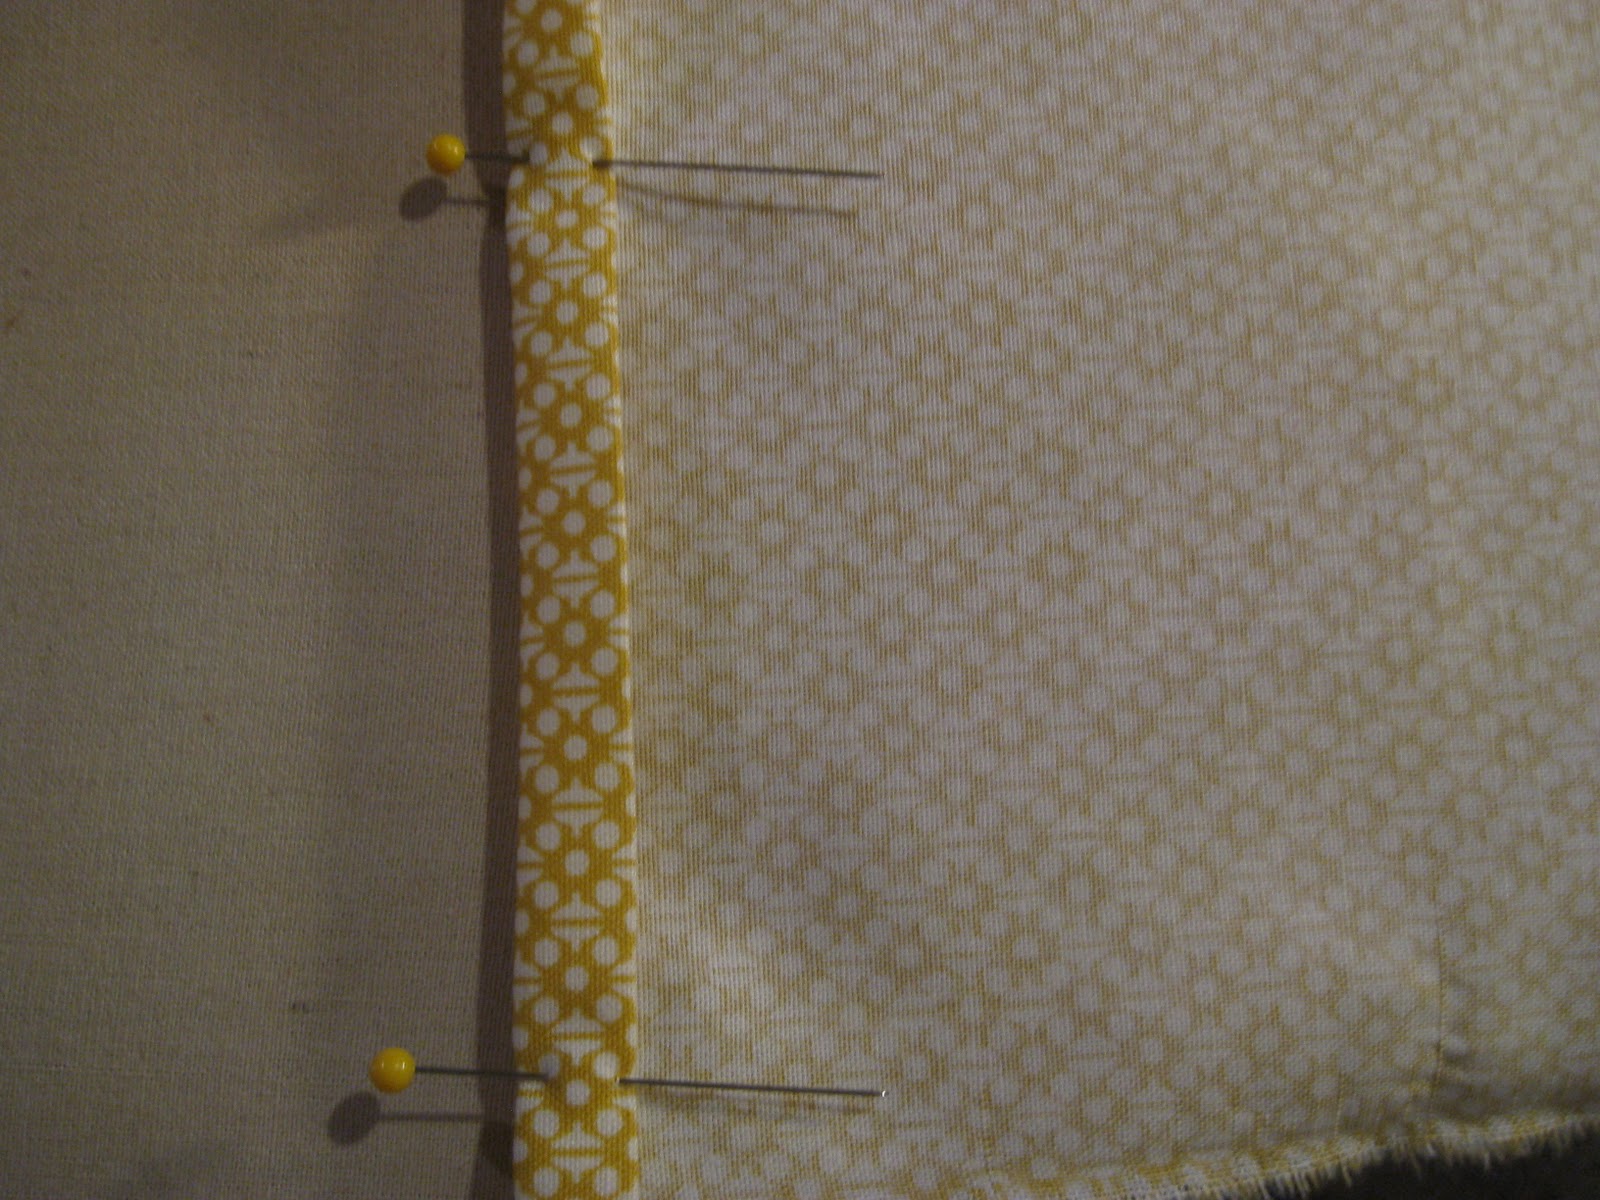
Clean finish the edges of the back two pillow cover panels by hemming at 1/2".
step seven:
Sew around the outside edges of the pillow cover. Flip in right-side out and slip in your pillow.
step eight:
admire your handy work. Crate and Barrel eat your heart out.
Get yours here at etsy if you'd rather not do it yourself!


