Showing posts with label scrapbook paper. Show all posts

Jan 9, 2012

Quick fix craft

I have an old random tray that didn't really add much to the decor of our apartment. Actually, it was sitting in my closet for awhile gathering dust.
So... I decided to give it a little face lift.


I took some scrapbook paper that I had left over, a stencil, and some paint, and gave my dirty old tray a little purpose.

I matched the patterns on my 2 pieces of scrapbook paper. Then traced my tray and cut out my rectangle of paper.

Then I used a stencil and some paint to add a little dimension.


Glue the paper to the tray. I used decoupage glue and coated the top as well.

If you plan on putting drinks on this tray you'll need to use a lacquer on top to seal it.


And there you have your 15 minute quick fix!


Oct 30, 2011

Custom DIY iPhone Cases


This super easy craft will allow you to change the look of your iPhone without buying 10,000 cases to do it. Yay saving $$!

Cost: $25 including buying the case
Difficulty Level: easy-ish


First, order this ultra clear, thin iPhone case from SwitchEasy. It's the clearest one I've found (no opaqueness, and no logos on the back!) Switch Easy NUDE Ultra Clear case


Then, go buy thin scrapbook paper. NO GLITTER!! It will scratch your phone and your case. I also got some thin plastic lace patterned paper. It feels like a transparency


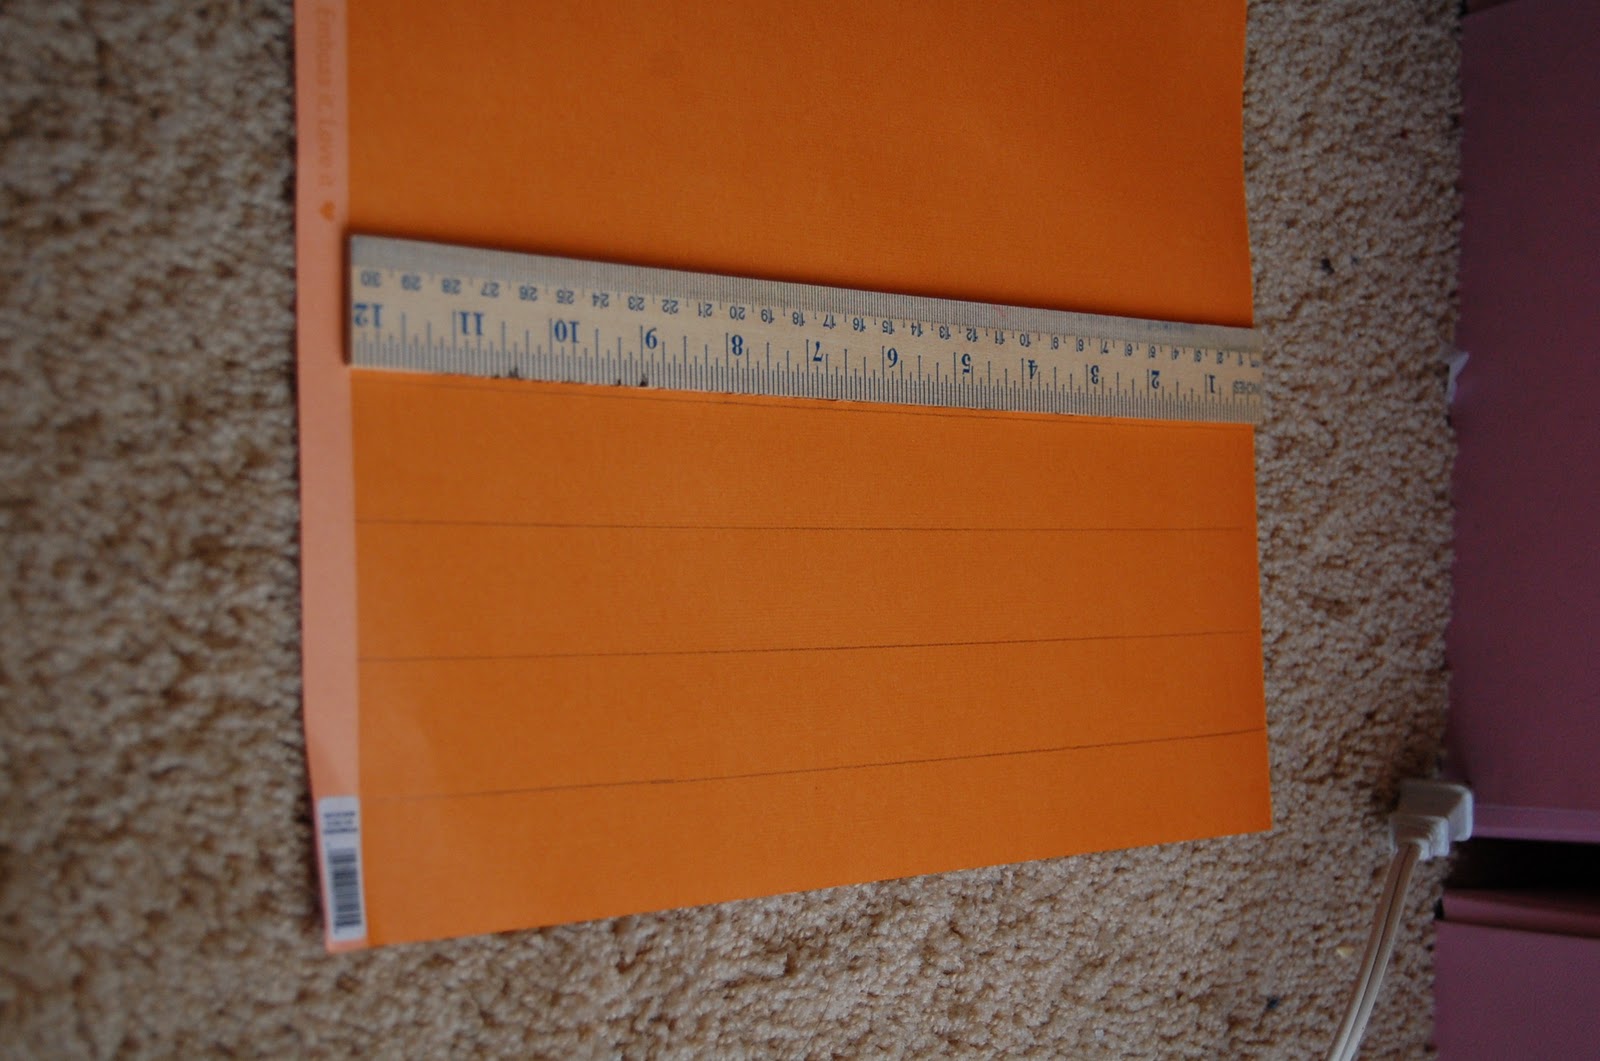
Pick a paper, flip it over to the back, and trace your case. Use PENCIL so it doesn'y mark up the case. Also trace the camera hole.


*Cut out the pattern and make sure it fits in the case. This takes some trimming.
*Now for the harder part--cut out the camera hole. I found it easiest to use a hole punch to get the curve over the flash, and then just used scissors to go over the camera. *Maybe you're more deft with an xacto and can do this nicely. I can't.


Line up your paper in the case, and snap your phone in.**Take couple photos with and without the flash to make sure there is no paper in the way**


Repeat with other patterns and colors. Now you can change the case as much as you change your outfit!

Have fun and get creative. You can add photos, quotes, drawings, anything on paper!


Oct 11, 2011

Halloween Paper Chain

Remember making construction-paper paper chains when you were little? Just me?? Well, here's the grown-up version that can be used for any holiday or party or just for fun.

Here's all you need:
pretty scrapbooking paper (mine was 60 cents per sheet)
scissors
ruler
hot glue gun (trust me, you do NOT want to use tape)

First:
Turn your paper so the back is facing up. Use your ruler to trace 1 inch sections so that each chain is the same width.


Second:
Cut on the lines. Then cut those strips in half. You should have strips that are 6 inches long when you're done.


Third:
Make a full circle with one strip and glue it together.

Then slide another strip through it, and glue in a circle around the first one...

Then keep on doing this until you run out of paper, or get tired of gluing ( I stopped because of the second reason).


Last-- Hang it up! Mine will be moved to hang by the windows.
>>>>Another option...make your kids do it!

Sep 27, 2011

A Bridal Shower!

Check out a bridal shower with a few DIY decoration ideas below! 

A few cute details can really add something to an invitation. I got the heart shaped paper punch from Michael's (below) and some cute scrapbook paper. Then I filled the invites with some over-sized confetti. 
Check out the Cup Cake Pomander post for non-floral centerpieces. These are easy and fun, but word to the wise-these pomanders are about the size and height of the head of the person sitting across the table from you. I put them on pedestals but it would have been better if they had been lower!


 For favors I got little boxes for $1.99 and decoupaged my heart confetti on top. I also lined the boxes with the stripe paper to add a little extra on the inside. Then I filled the boxes with tea bags to make little tea samplers! Did I mention this was a tea party shower?


I hope this gives you some ideas for your next party! We'll keep you posted when we come up with any more! (Get it... posted... it's a blog... heheh).

Sep 6, 2011

Katie vs Scrapbook Paper Coasters

difficulty level: easy
cost: about $30 for 8

what you'll need:
scrapbook paper (2 sheets makes 8 coasters), tiles, decoupage glue and sealer, medium duty felt pads, & spray lacquer. You may also need a pencil, scissors and some newspaper.

step one:
Trace your tiles on the back side of the scrapbook paper.
Then cut out the squares about 1/16"-1/8" inside the lines to make sure the paper doesn't hang over the edge of the tile.

step two:
apply a thin layer of decoupage glue to the top of the tile and lay the paper square on top. You have some time to make sure it's straight and even. Use a credit card or flat edge of something to smooth the bubbles out and press out any excess glue. Let this dry completely before moving on or your paper will get too wet and will wrinkle and bubble.

step three:
Move outside! There is a reason you have to be 18 to buy spray paint...
Put down some newspaper, and following the directions on the spray can-apply the lacquer to the tiles. This took me about 8 coats. It takes so many coats because they need to be thin or the lacquer gets goopy. Be sure to let them dry in between-this doesn't take too long. Be sure to spray the sides of the tiles to seal the paper. Let the lacquer dry before step four... again, this goes pretty quickly depending on the weather!

step four:
put felt pads on all corners of the bottom of the tile.


step five:
flip over and enjoy!!


This was a really fun and easy craft! I used tiles that were a little more expensive than I'd hoped because I wanted to have smooth edges and corners, but seeing the finished product I am very glad I splurged ($1.97 instead of $0.89). I also used one sheet of thick scrapbook paper and one sheet of a thinner paper. The thick paper worked better and didn't bubble at all. Try this with some cute paper to match your living room, or get them here
Winner: Katie!